Tuesday, September 24, 2013

Father's Fantastic Five!


I won Father's Fantastic Five!! Thank you so much Frances Suzanne! This made all the work worth while.
Congrats to all the other entries as well!
It was truly fun! Can't wait for next month.

Tuesday, September 17, 2013

"W" Skort and Accessory Vest

I was definetly trying to think of something to do with the BBC Vest for Flip this Pattern. My first idea was a cardigan but I didn't have the right material. So Accessory it is! It is unlined so I cut down the harder edges of the pattern to make it softer


Then I added a roll collar-ish to the whole thing.


I made it from a super soft knit that had varying stripes on it so it came together nicely


I was also trying to determine what to do with the "W" Pants. I had nothing and then it hit me in the middle of the night (literally) - so I wrote it down so I wouldn't forget :)
Does anybody remember skorts? Skirts/shorts that were huge in like the 90s?
That's what I did - a "w" skort.


They were pretty simple and fun to make. I utilized my newest toy which I will be introducing later on.

Flip This Pattern


Thursday, September 12, 2013

Urban Raglan - Flip this Pattern

So I made another Recess Raglan flip for Frances Suzanne's Flip this Pattern.
I absolutely love the Alphabet Collection (I have another flip coming out later today) and flipping it has been fun.

This one I call my Urban Raglan.


I used a pink polyester knit and added a button placket made out of the gray ribbing (with interfacing) that I used for the neckline.


I also added a little kangaroo pocket. Sarah really liked it and tried to stick both of her hands in at the same time and stretched the stitching, so I have to go back and fix it :(


Flip This Pattern

Bias-trimmed Capri's with a Comfy Yoga Waistband - Beachy Tutorial week

I always think of the longest names for my creations but this one says it all.
Lets get started!

Materials:
1/2 yard woven cotton
Store Bought Bias Tape or we'll make our own
aprox. 1/4 yard knit ribbing
General Sewing Supplies


Step 1: Make your pattern pieces.
Start by using an existing pair of pants and make a pants pattern by tracing them onto paper adding a seam allowance. Make sure your back pattern piece has a larger curve (to compensate the bottom - I didn't do this right and they were super tight on Annie)


Step 2:
Cut out two backs and two fronts (not on fold)
Place each front right sides together and sew down the curve.
Repeat for the back


Open them up and sew the pant legs together at the side seams.


Match your crotch seams


Pin and sew.


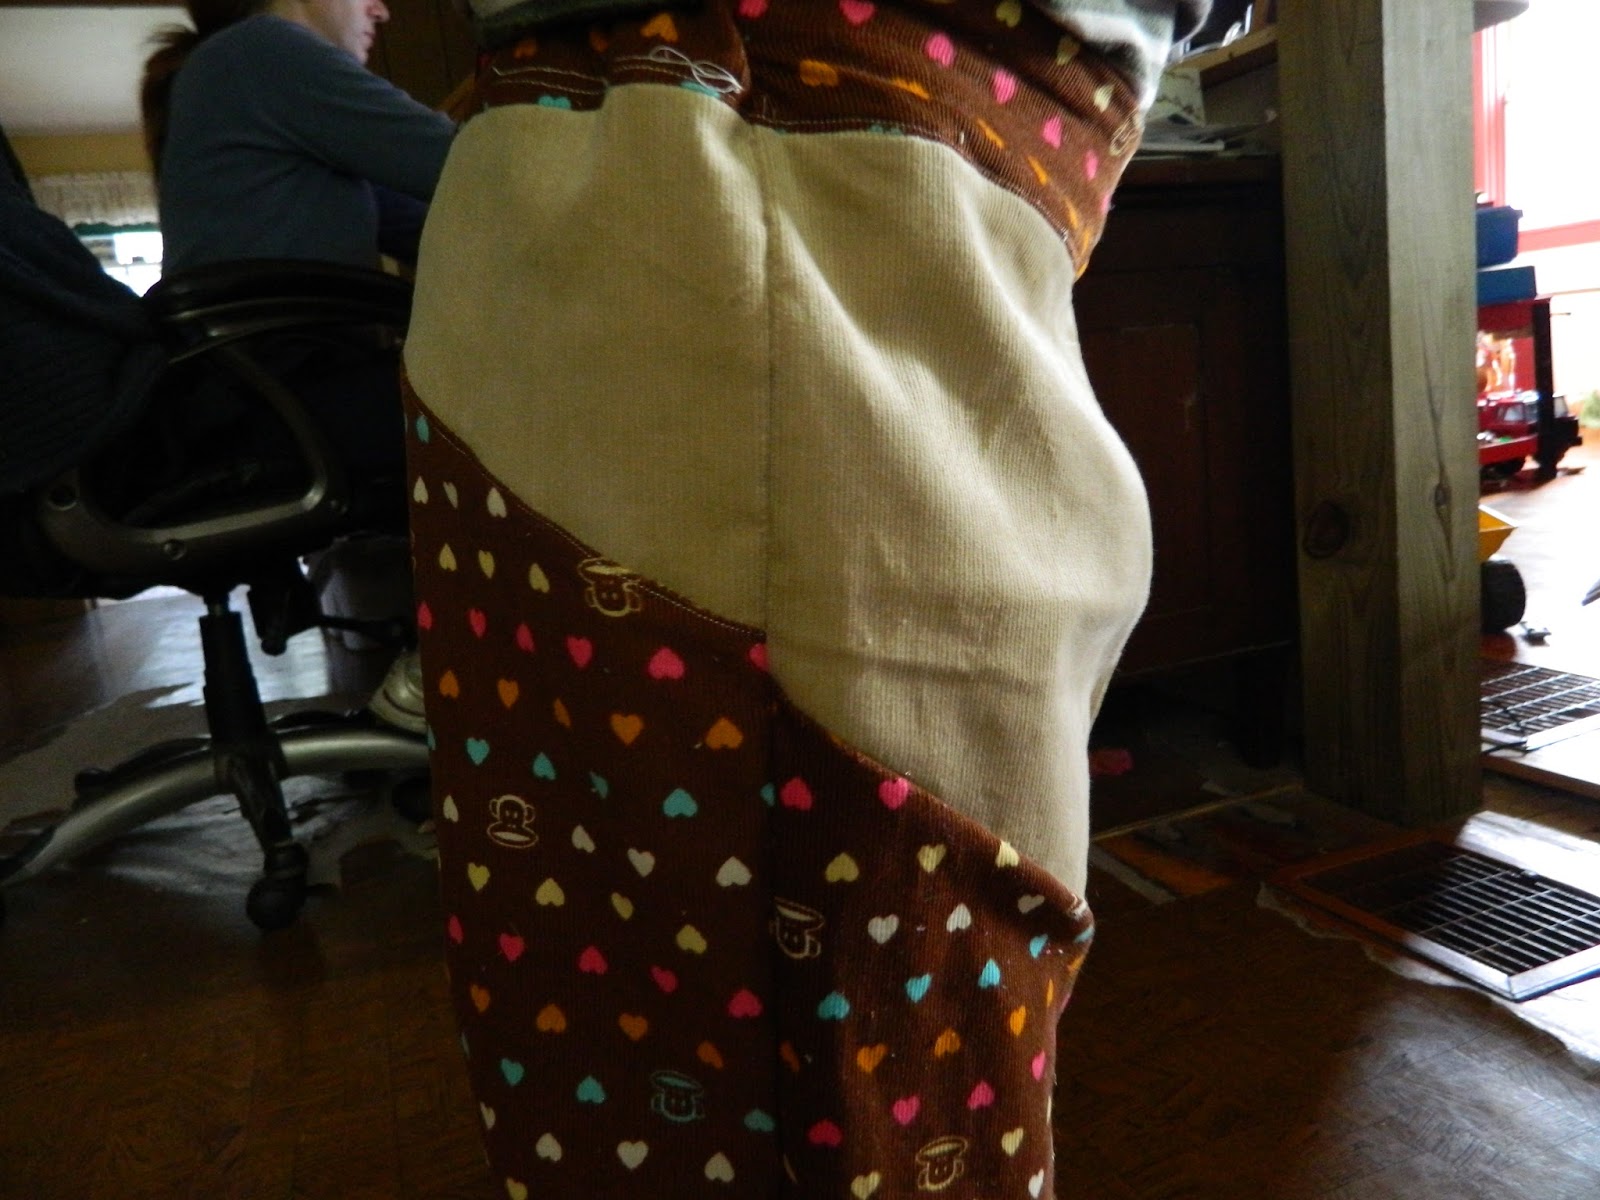
Next, cut a notch out of the outside of each pant leg:


Now make you bias tape - or use store bought if desired.


Pin bias tape around curve.


Sew


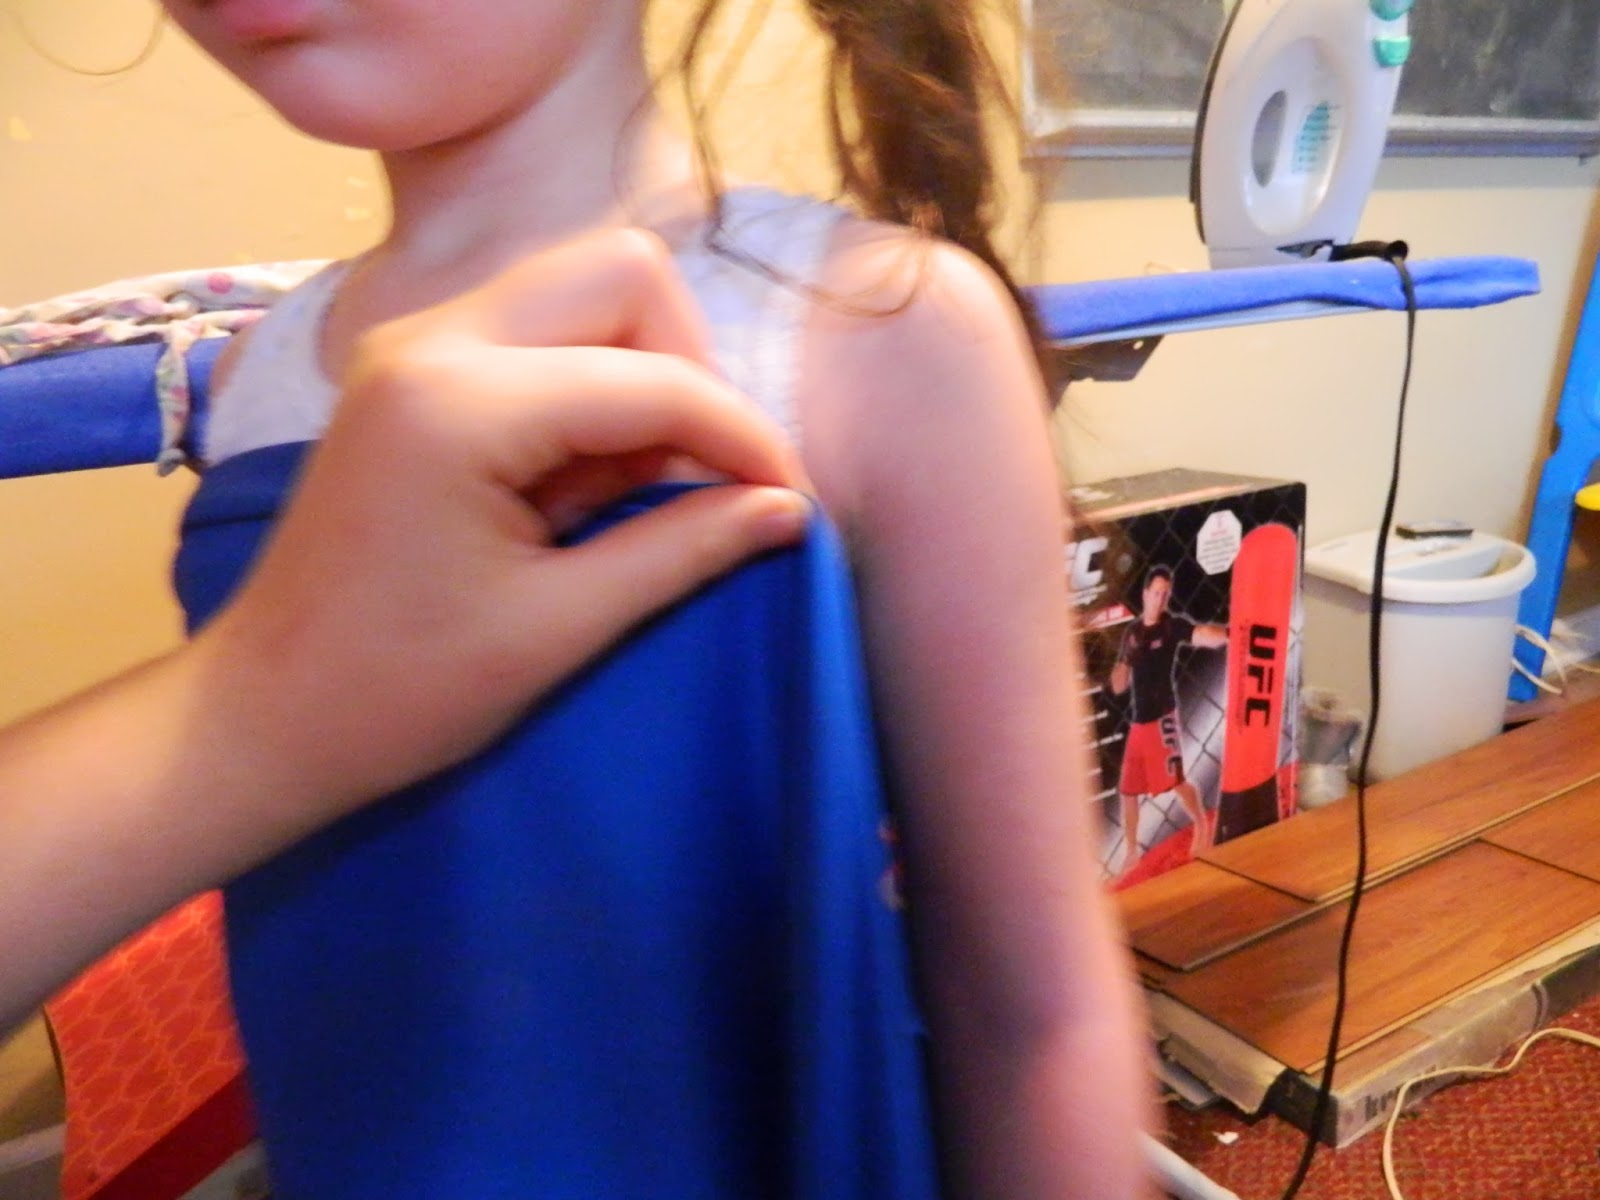
Cut a strip of bias tape the length of the hem + 10" (for tying). Fold the two ends in like this:


Pin onto hem, overlapping the ends of the curve's bias tape.


Sew and tada: nice huh?


For the waistband: Cut a piece of ribbing 10" by waist - 2" (e.g. Annie's waist is 22" - so my piece was 10" by 20")


Sew ends together to form a tube and fold in half wrong sides together


Pin to top of pant


Sew, stretching ribbing to fit.


Fun Capri's with a super comfy waist band!


Don't you love the cut outs? I do!


Tuesday, September 10, 2013

Super Simple Swim Cover Up - Beachy Tutorial Week


This week is my (couple) weeks of beachy tutorials! Why? Because I’m (I was) at the beach of course.
Check it out:

So in honor of Beachy Tutorial Week and the fact that I am (I was) at the beach, I am going to post my first girls beachy tutorial.

Super Simple Swimsuit Cover Ups

This is a two part tutorial. I am going to show you how to make two different styles of a swim cover up. This is the easiest thing to make and it took me a total of about 15 min for both.

Materials:
1 yd of a knit fabric that doesn’t fray
Ribbon
Specialty Elastic

Cover up 1:
Step1:
Start by fitting your child (I was going to make this one for Annie but it ended up being Sarah’s). put your fabric under their one arm and then pull it around the back and up under the opposite arm. Mark and cut.


Step 2:
Cut your ribbon to the length it takes to wrap around her arm plus 2”. Cut 2.

Step 3:
Sew the ribbon onto the two edges of the fabric
Guess what?! That’s it. Super simple, right?


Then to wear it - you crossover the left ribbon to the right arm and the right ribbon to the left arm - I will get a picture up soon!

Cover up number 2:
Step 1: Measure your fabric the same way as in cover up number 1. Sew the 2 ends together to make a tube.
Step 2 Measure your elastic around your child’s chest. I found this cool sequined stuff at WalMart so I just used that. Sew your two ends together.

Step 3:
Sew your elastic and fabric right sides together stretching the elastic to fit the fabric as you go.


Done! Again I used a non-fraying fabric so I didn’t have to hem it.