I love J-Crew's kids clothes. Their dresses are just so cute! (like
this one and
this one).
Well, as I was looking through their website, I found this dress:
I loved it. But it cost $78 dollars! It was one of the cheaper dresses on there but still - I am cheap.
So I decided to make my own.
This is what mine looks like:
This picture doesn't do it justice - it really does look similar, only I don't have a fancy necklace :( And mine only cost $4!
I decided I would do a tutorial on how to make this dress.
Materials
-about 2 yards of choice fabric (I used a tan woven that was in Walmart's bargain bin)
-Four Buttons (or a zipper if you rather)
-Iron/Ironing board
-General sewing supplies
Step 1
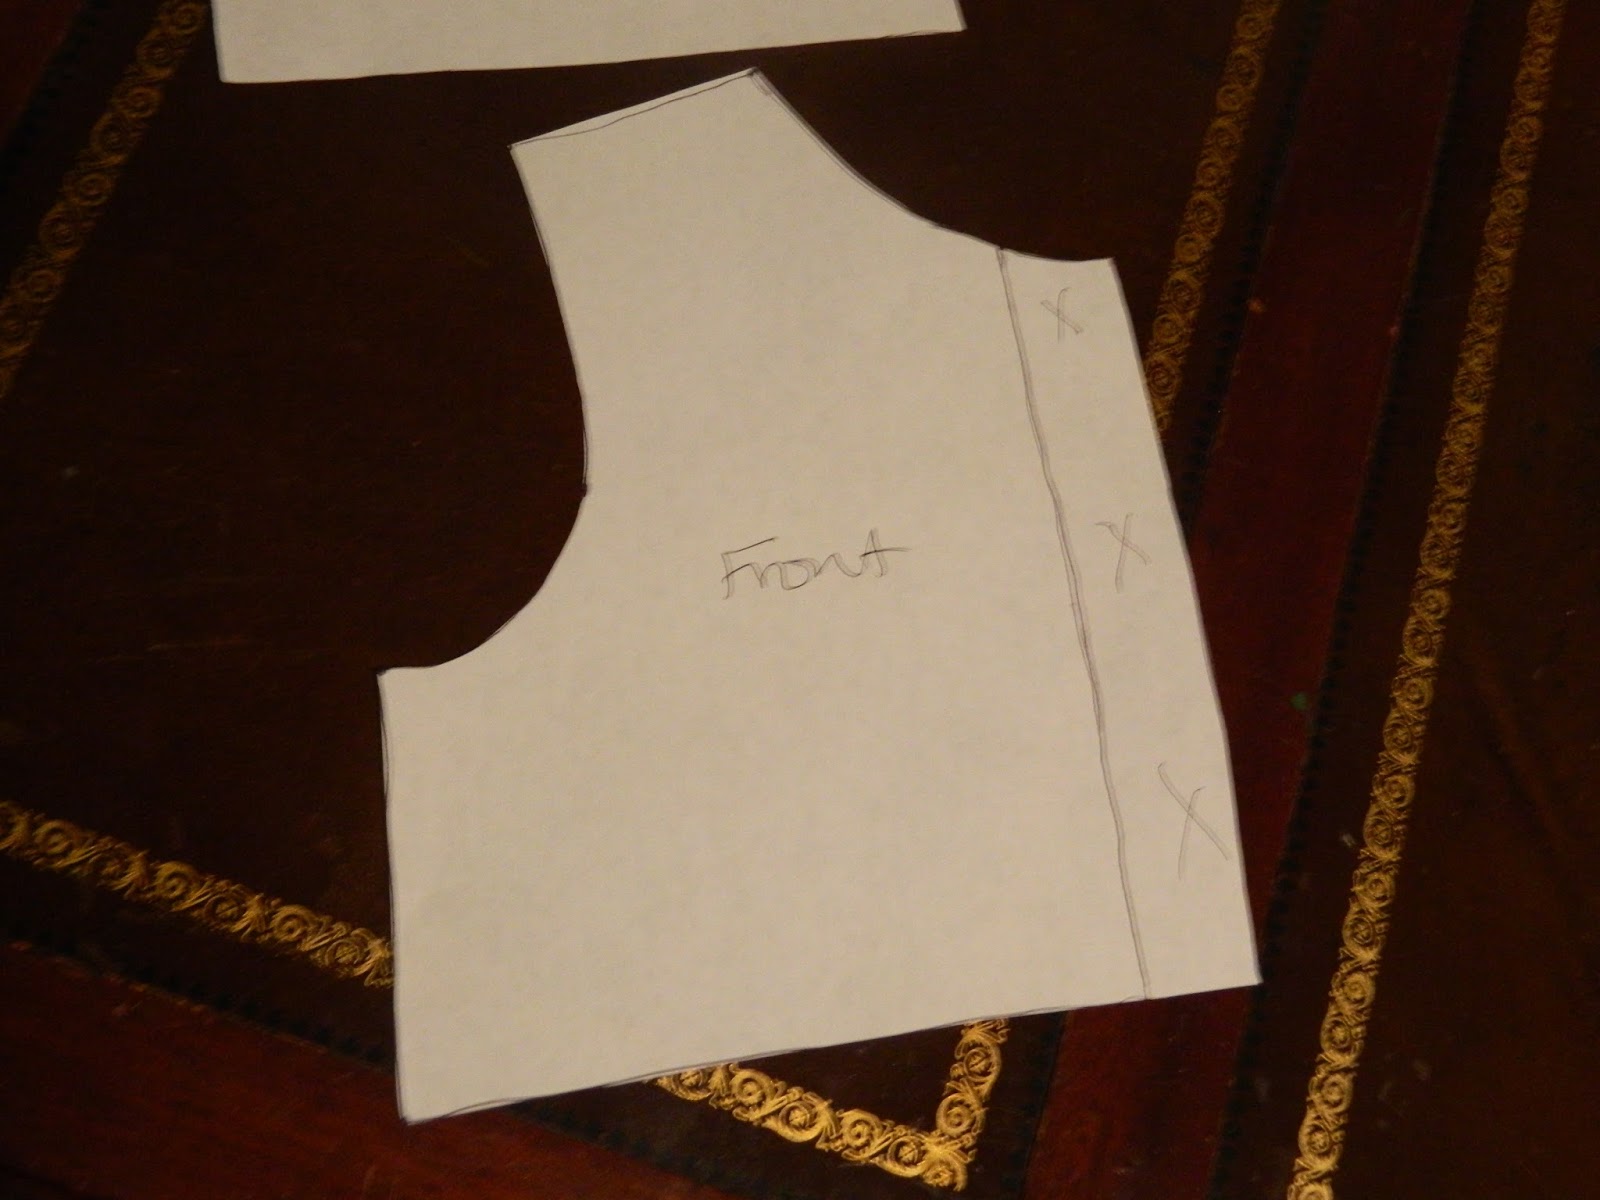
Make your bodice pattern. You can start with a shirt that fits your child well or a basic bodice pattern.
I started with a basic bodice pattern. You'll need a front and a back.
On your front bodice piece, cut off a strip that is about 1"-1 1/2" wide:
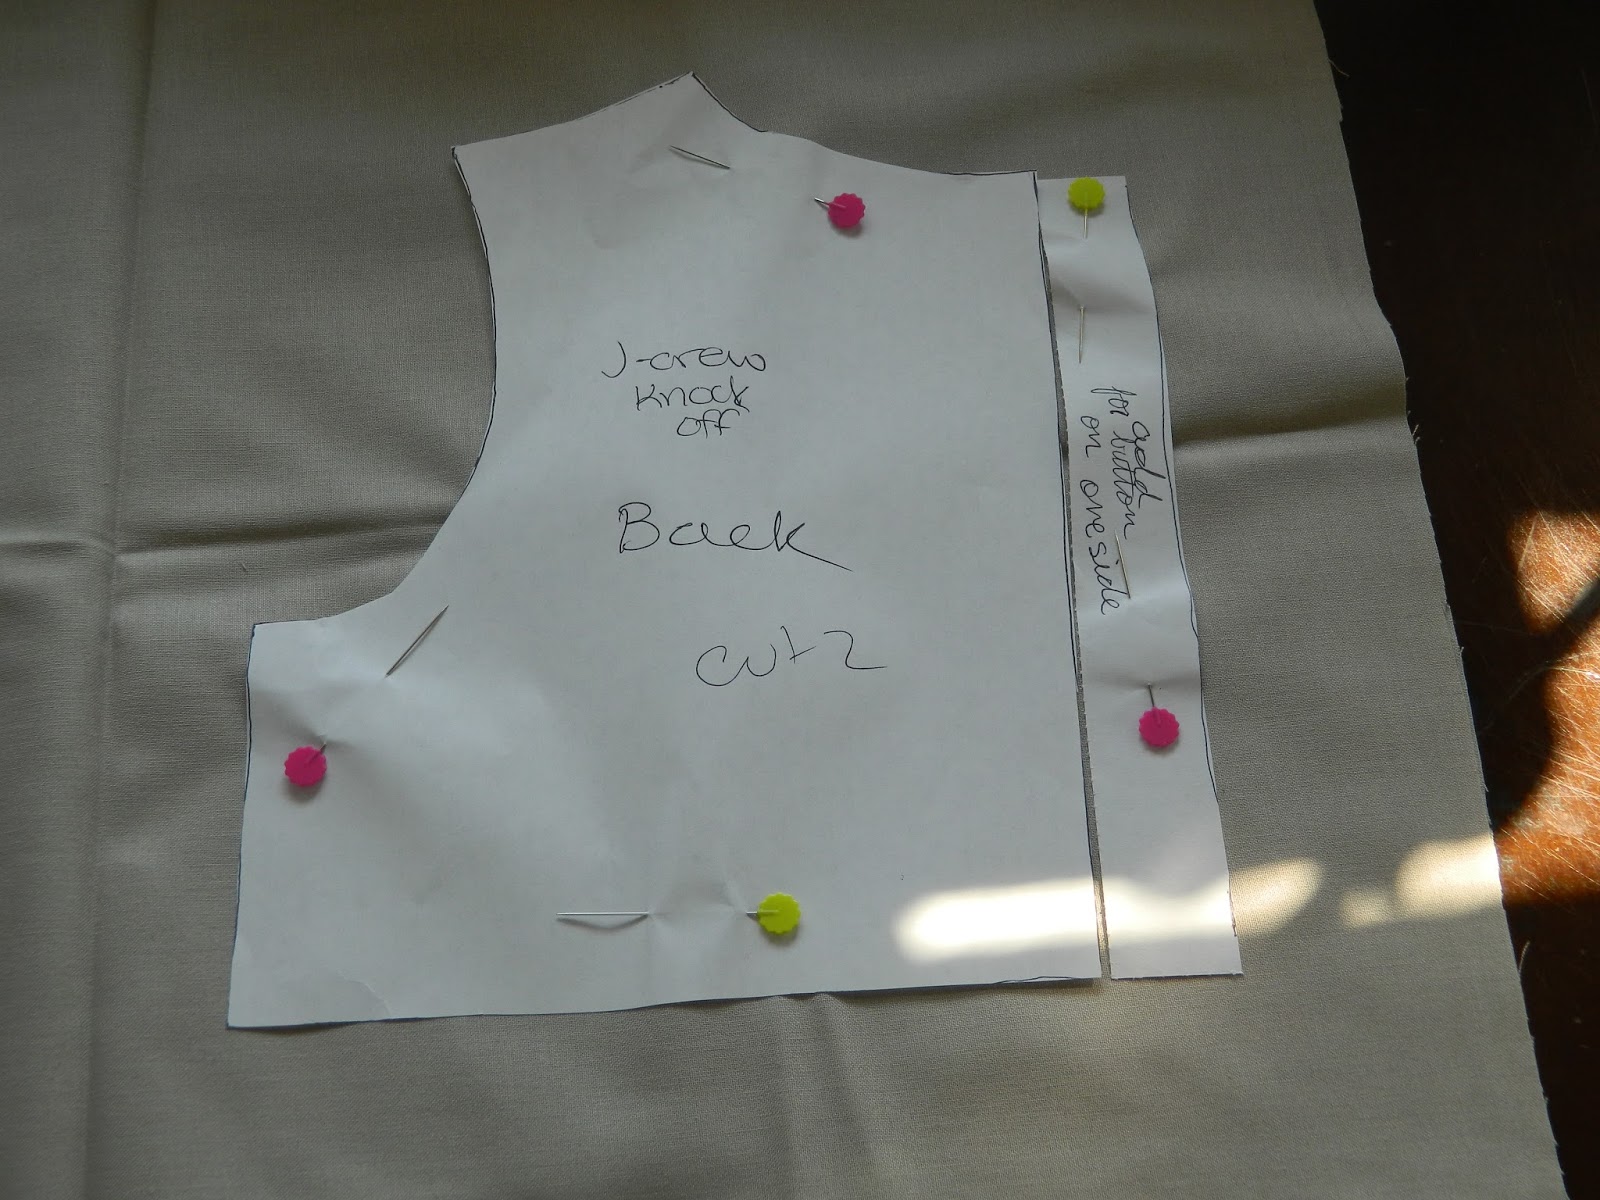
Cut four front pieces and two of your back pieces "as is". For your other two back pieces add that strip that you cut from the front (this will be your button "placket"). If you are putting a zipper in - don't worry about this step.
Also - For the middle panel of the bodice cut a strip 3 1/2" wide by however long your bodice is plus a 1/2" (e.g. Mine was 3 1/2" by 8 1/2")
For your skirt pieces - You are going to have a total of four skirt pieces. First measure you child's waist. I made this dress for Annie and her waist is 21". Your first skirt piece will be twice the waist by desired length (with hem and seam allowance) - so mine was something like 42" x 27". You'll want your next two to be the width of the waist - so I had 21" x 27" (X2). You last piece is the center panel - You'll want this to be 3 1/2" by the desired length (mine was 3 1/2" x 27").
Hopefully that made sense :)
Step 2
Now we are going to assemble our bodice. The bodice is fully lined.
Sew two of your bodice pieces to the back with the added button placket. (make sure you sew them "opposite" so that you can put the right sides together. Do the same with the other two bodice pieces and the normal backs. Press the seams.
Place your pieces right side together.
Next you'll want to sew your two center panel pieces together at the top. Press that seam.
Fold it in half wrong sides together and press again.
Place that inside one of the sides of your bodice pieces - make sure you edges match up.
Pin it down.
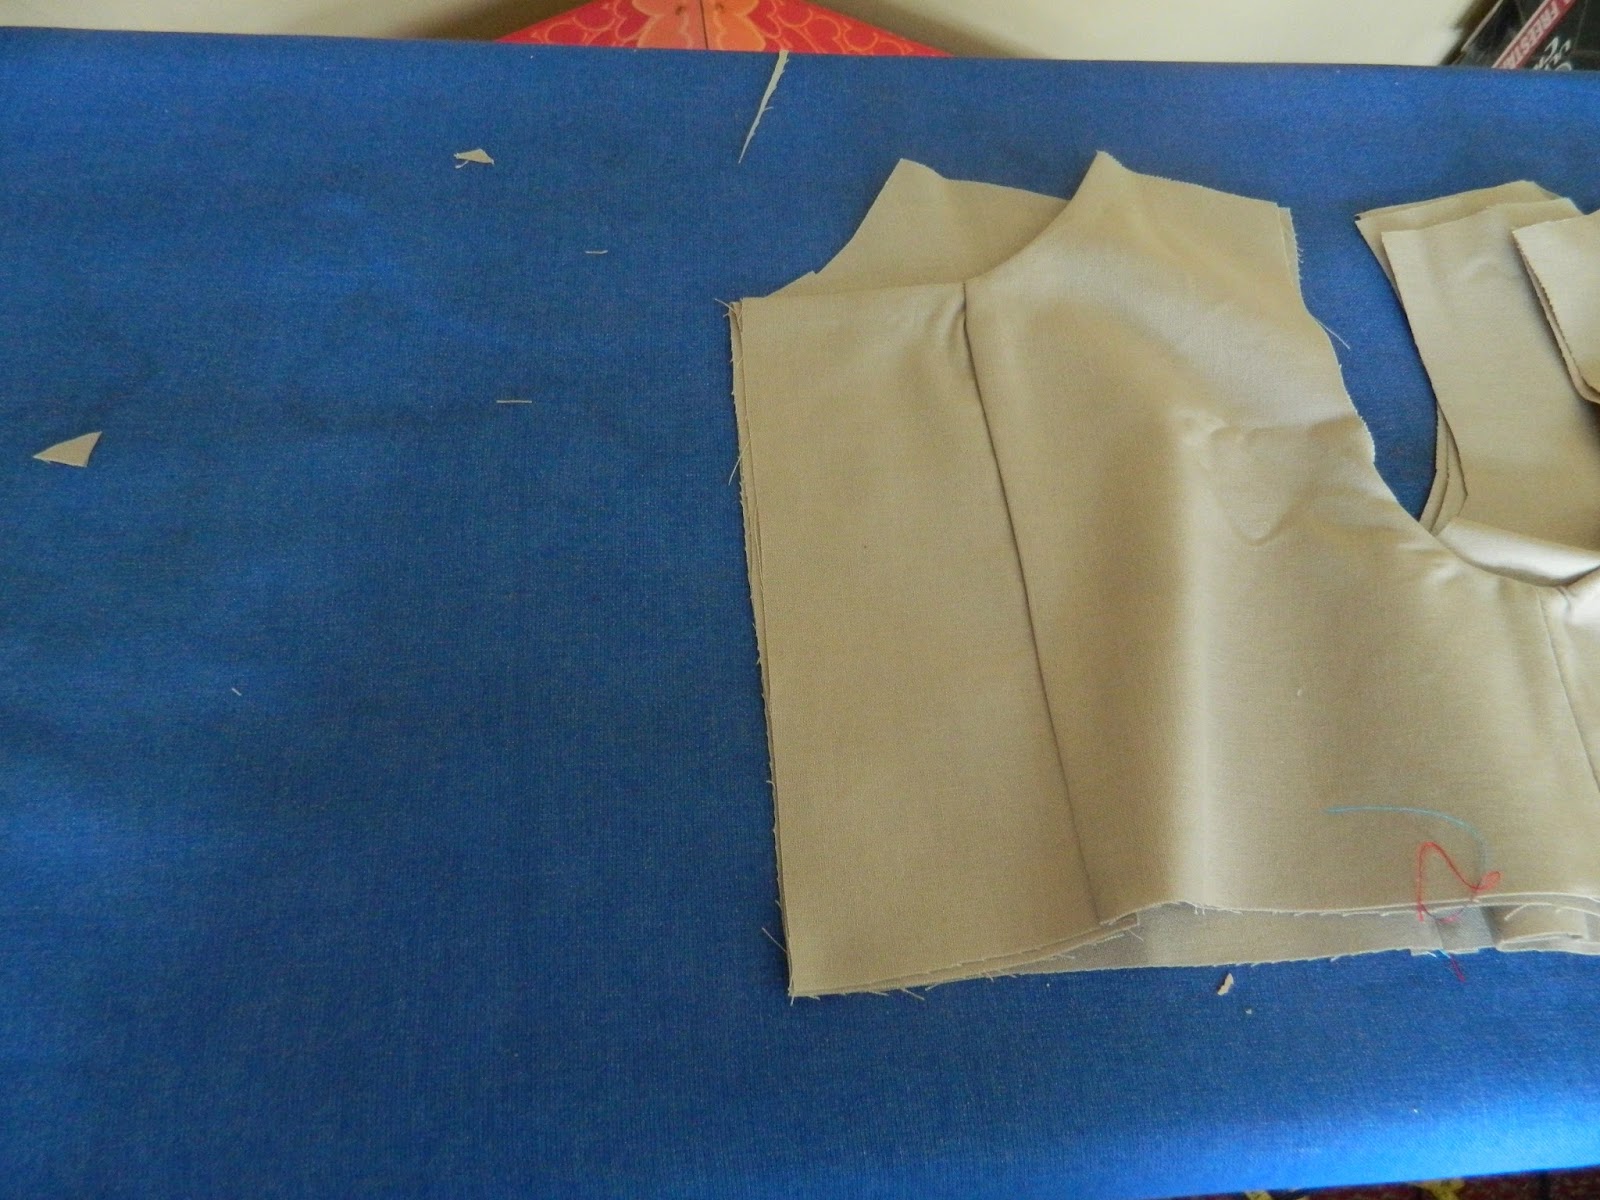
Sew around. Sew only where the red lines are (in the picture below) NOT where the blue squiggle lines are. Also, don't sew across the bottom
Turn your bodice piece right side out and press.
Now we have to do the other side. This is where it gets a bit tricky.
Place your finished bodice (we'll call it bodice A) piece right sides together with the right side of your unfinished bodice piece (bodice B).
Pin bodice A down and out of the way like this:
Place you lining on top right side down. (Sorry my hand is there - I don't know why)
Pin it down and sew as you did with bodice A - NOT sewing the shoulders.
Clip your corners
Turn it inside out and press
See the resemblance
Step 3: Finishing the shoulders
Start by pressing the lining of one of the sides of the back to the corresponding lining of the front. See below:
Open the seam so both the main and the lining are right sides together:
Pin it
Sew across the top of the shoulder seam:
This what it looks like on the right side:
Fold it over:
Tuck your raw edges in:
Pin around:
Topstich:
Step 4: Buttons
Next we're going to add buttons and button holes.
I used the wider back piece for the button holes.
Place your buttons where you are going to want them.
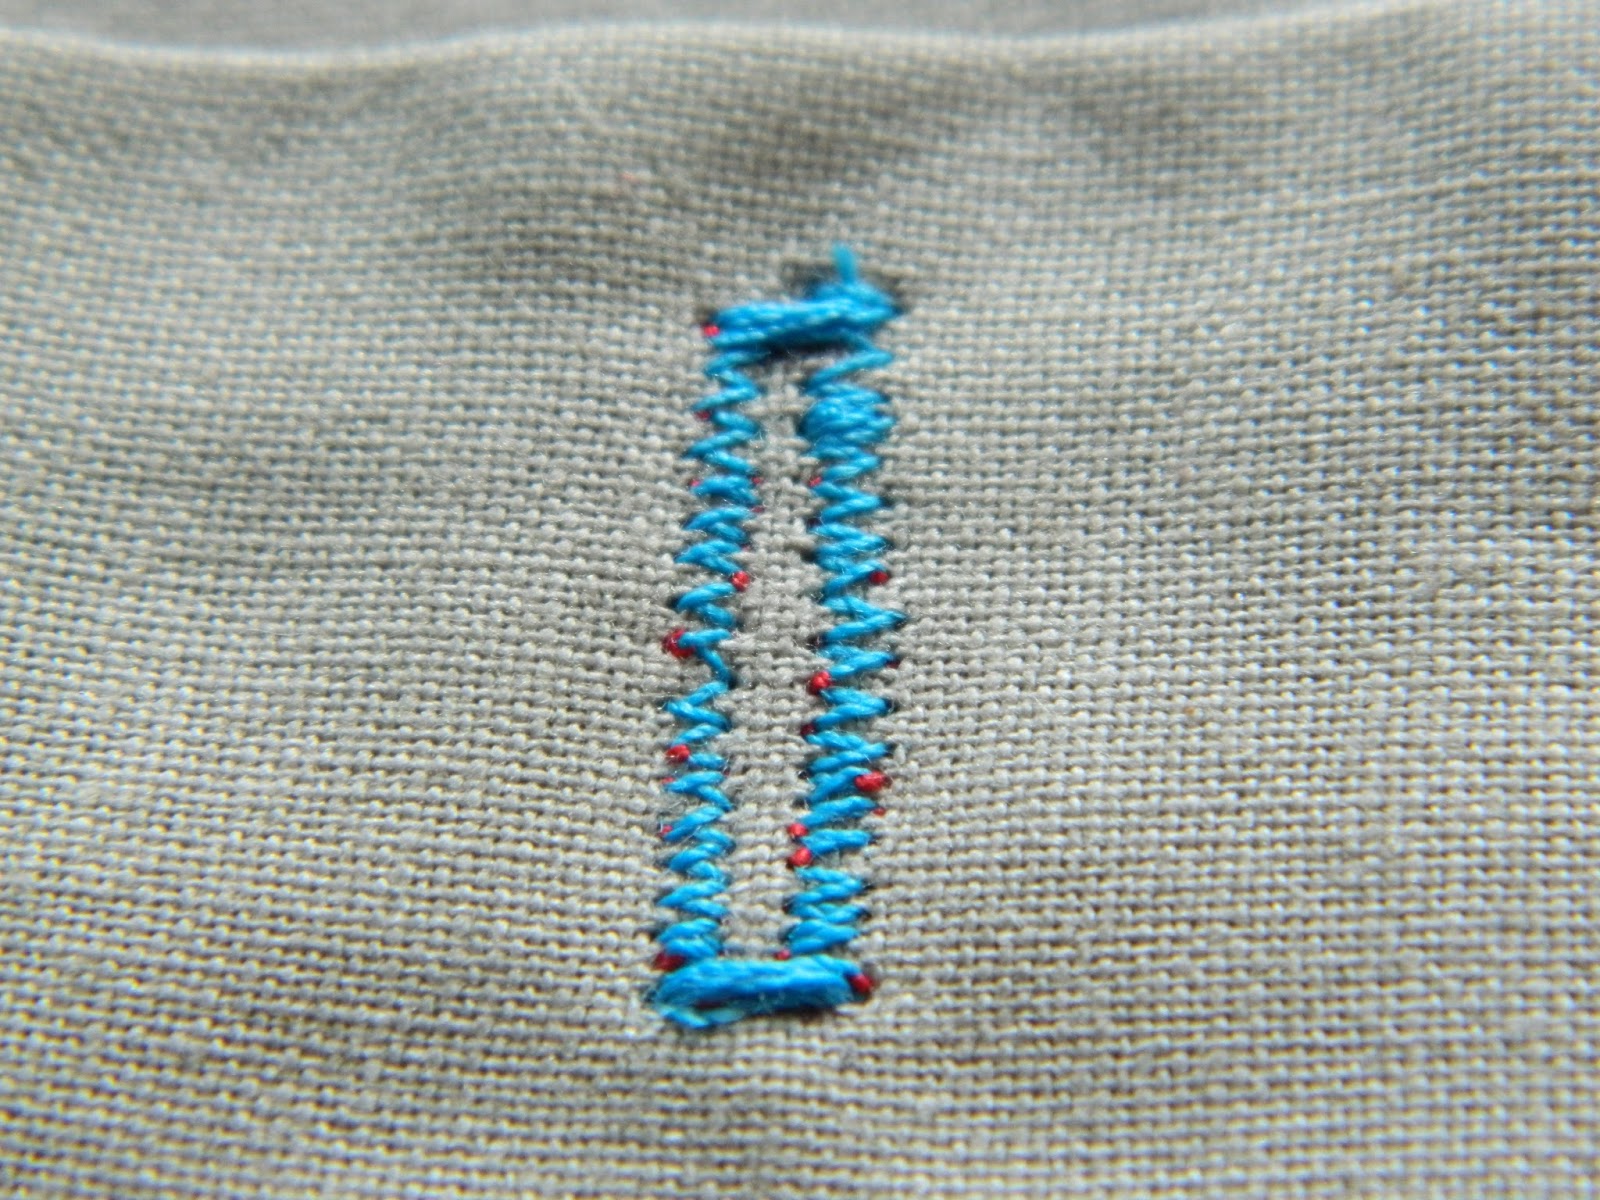
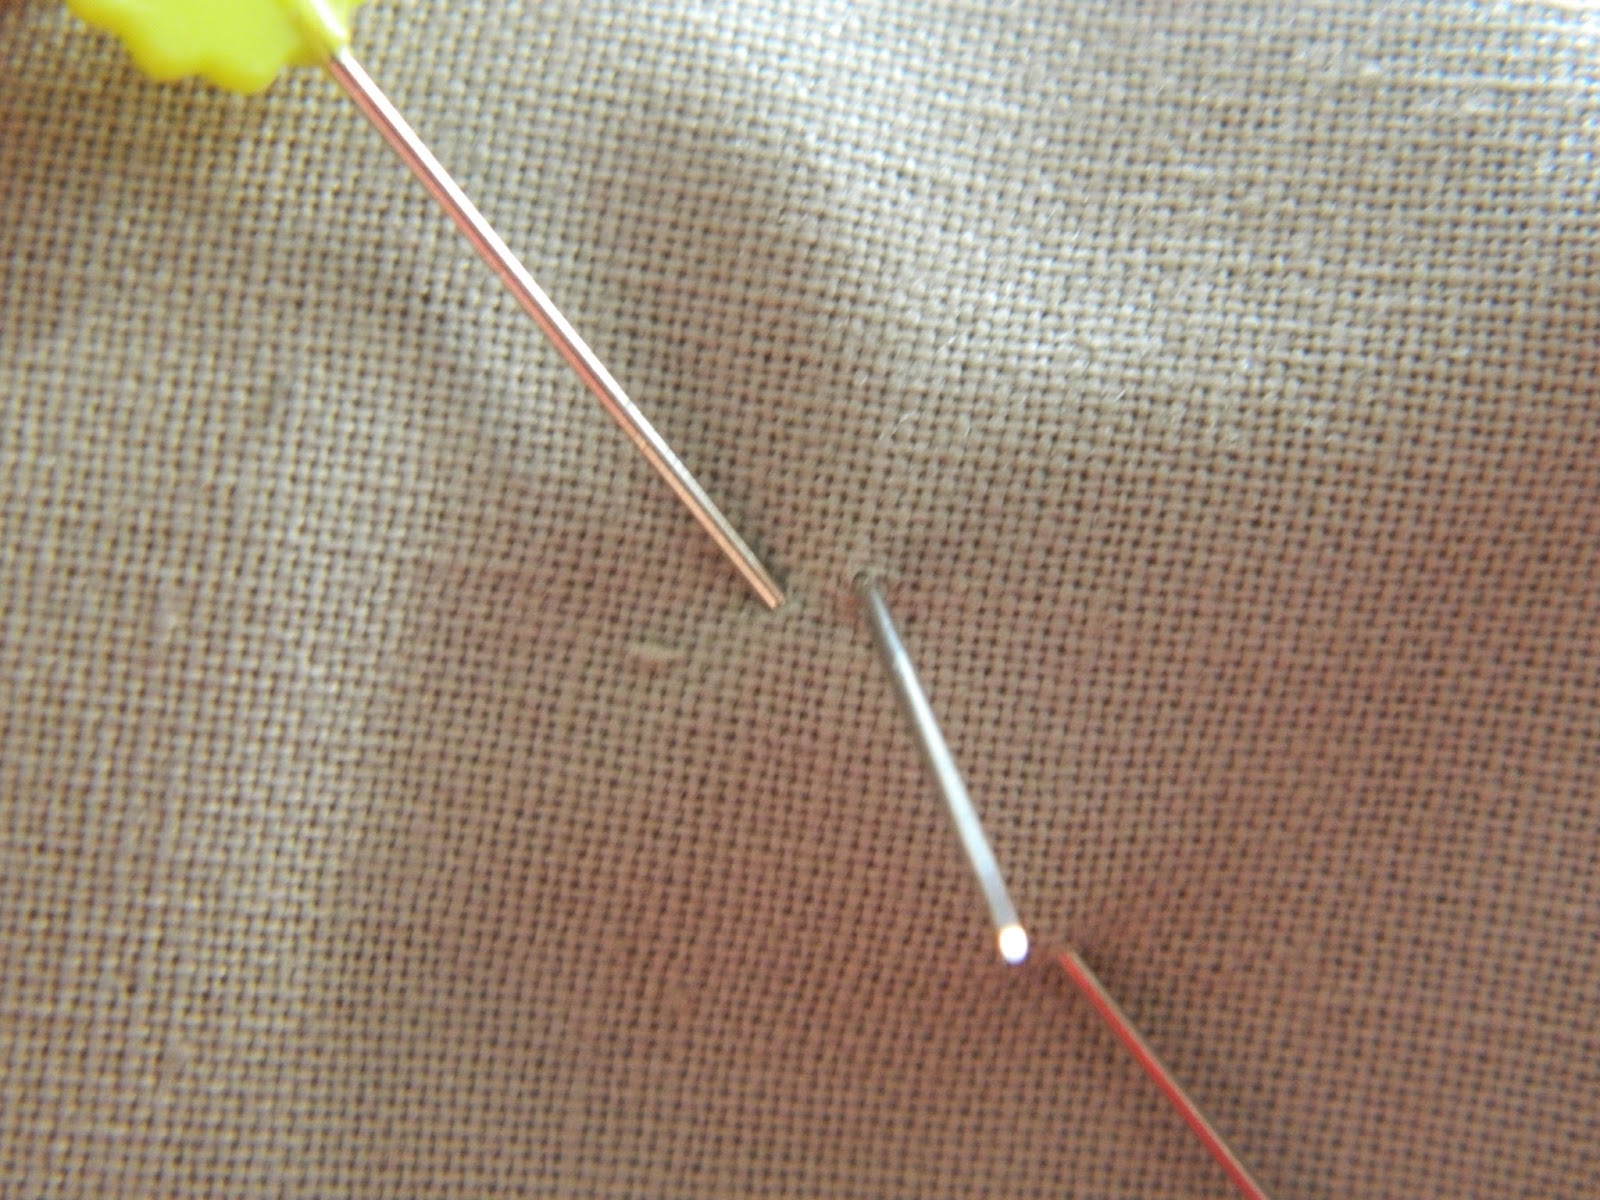
Mark to the sides of your buttons like so:
Open it up. I use my seam ripper for this.
Next, lay the bodice how you want it and put pins through the center's of your button holes. This will determine where your buttons go.
When you sew your button on start a little to the right (or left) of your pin. You want the center of your button to land where the pin is and the button's holes aren't in the center.
Tada!
Step 5: Skirt
Sew your skirt pieces together as shown:
Now run a gathering stitch along the all except the middle panel, like shown (black line):

\
Put your skirt piece and bodice (buttoned up) right sides together, matching up those center panels.
Pin
Sew them together. Make sure your seam is down below the gathering stitch so you can pull it out when your done.
Pull out your gathering stitch and hem the bottom
Viola!!!
Forced smile:
Hope you enjoyed this tutorial and if I missed anything or you have pointers for me just comment below.










 \
\


